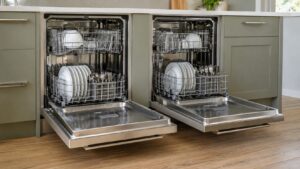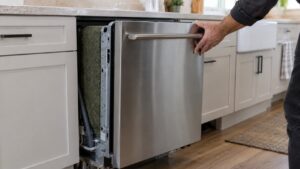
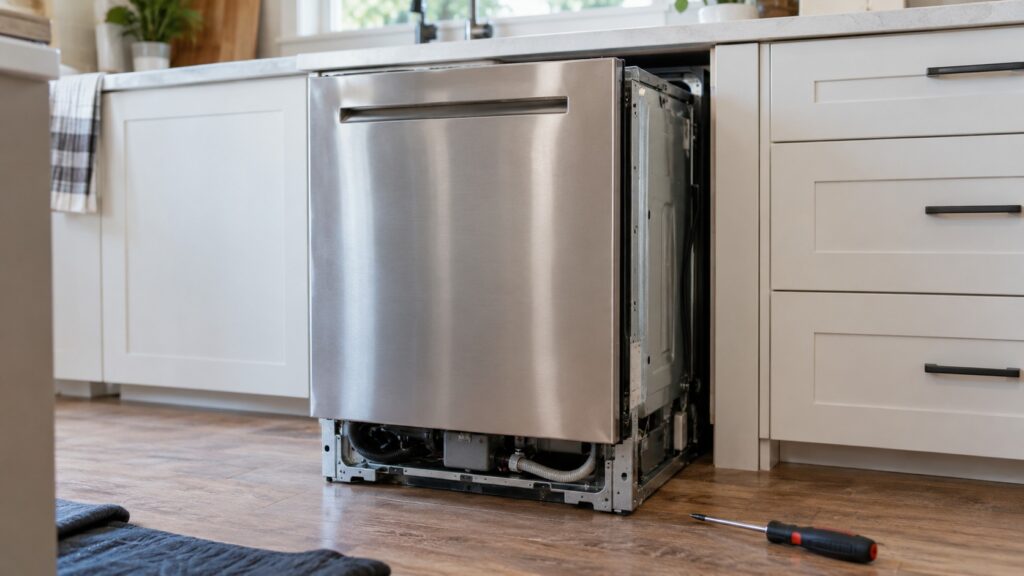
An Asko dishwasher hookup has three connections to get right: a water supply with its own shutoff valve, a drain line routed so wastewater cannot run back into the tub, and a grounded electrical supply. Most first-year problems with a newly installed dishwasher, from a tub that will not fill to a drain code, trace back to one of those three, so it is worth slowing down and checking each before you slide the machine into its opening.
What does the water supply connection need?
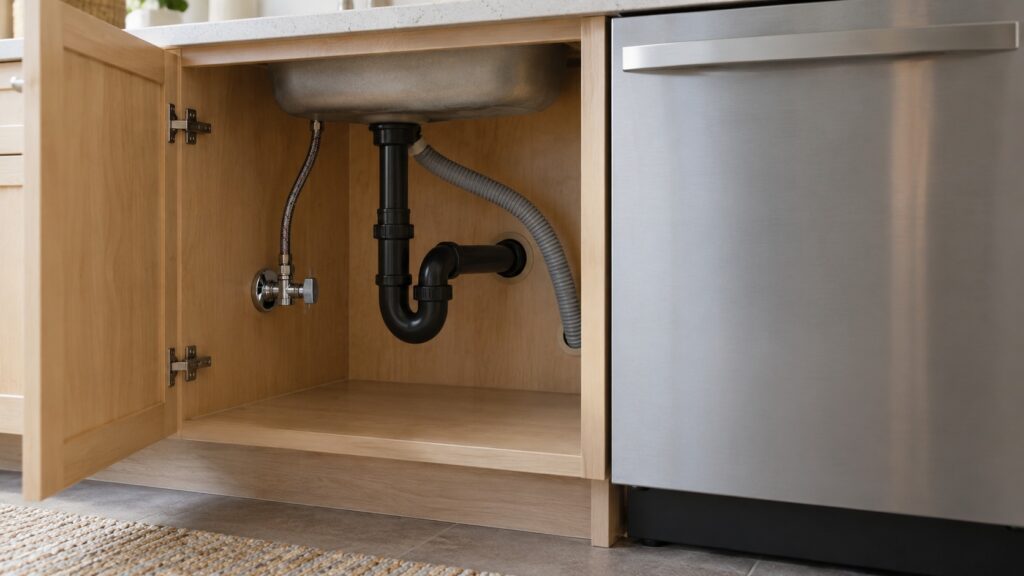
The dishwasher takes water through a single inlet, usually at the lower front corner of the machine, behind the kick plate. The supply line runs from a shutoff valve under the sink, and that valve should be easy to reach, because you will want it when you service the machine or leave home for a long time. Flush the line for a few seconds before you connect it, so a stray bit of solder or pipe debris does not end up in the inlet screen.
Use the connector the installation instructions call for and tighten it firmly, but not so hard that you crush the fitting. Check the water pressure is within the range in your manual. An inlet that is starved of pressure or partly blocked by its screen is what the dishwasher reports as an inlet shortfall. On current display models that is F12, described on our Asko dishwasher F12 page, and a blocked screen is a quick fix when it is the cause.
How should the drain hose be routed?
The drain hose carries dirty water from the pump to the household drain, and its route decides whether that water can flow back. Local plumbing code sets the exact arrangement, but the general principle is to raise the hose to a high point under the counter before it goes to the disposer or the sink drain, so wastewater cannot siphon into the tub. Secure the hose so it cannot sag or slip down.
Avoid kinks, sharp bends and compression. A hose pinched behind the machine is a classic cause of slow draining and standing water. If you connect to a garbage disposer, remove the knockout plug inside the disposer inlet if it has one, since leaving it in blocks the drain completely. Our guide to the Asko dishwasher drain pump codes F11, F56 and F68 explains what the machine reports when the drain path is restricted.
What are the electrical requirements?
Follow the installation instructions for your model for the type of supply, whether a plug-in cord to an outlet in the adjacent cabinet or a direct connection. The outlet should be grounded, protected as local code requires and located so you can reach it or disconnect the machine without moving the dishwasher more than needed. Keep the supply cord clear of the water and drain lines, and make sure it is not pinched when the machine slides into place.
Never use an extension cord or a shared power strip. Power work belongs with a qualified electrician if the existing supply does not match what the machine needs. Switch off the circuit at the breaker before you touch any connection, and test that it is dead.
How do you set and level the machine?
Slide the machine into the opening carefully, feeding the hoses and the cord ahead of it so nothing gets caught. Adjust the feet until it sits level from front to back and side to side, using a level on the tub rim with the door open. A machine that leans can leave water in the wrong places, make the racks roll and cause noise. Then secure it to the cabinet or counter using the mounting brackets so it cannot tip when the door is open and loaded.
Check the door action: it should open and close smoothly and stay put at any angle. For panel-ready machines, the weight of the cabinet panel affects the door spring, so follow the instructions for adjusting it. Our guide to Asko dishwasher panel-ready installation and the broader Asko European appliance installation guide explain these steps.
How do you test the installation?
Turn on the water and look at every joint for drips before you start a cycle. Then run a full cycle with the kick plate off so you can see the connections, watching the inlet, the drain hose and the base of the machine. A weep of water at a fitting is much easier to fix now than after the cabinet floor has soaked it. After the cycle, wipe the area dry and check again with a dry paper towel pressed to each joint.
Check how the machine fills and drains. It should fill steadily, wash, drain completely and finish without standing water in the tub. If the machine reports an overfilling code such as F10 or F54, or a drain code, stop and recheck the connections before you assume a fault with the machine. Our guide to the Asko dishwasher F52 and F54 water level codes shows the checks that follow.
Finally, leave a little slack in the hoses and the cord behind the machine, and tuck them where the dishwasher will not crush them when it is pushed back for cleaning or service. Note where the shutoff valve is and show everyone in the household. A dishwasher that is easy to isolate is far less likely to cause a flood when a hose eventually wears.