Asko cooktop installation fails in one of two ways, and neither shows up on the day. Either the cutout is wrong and the glass sits under stress, or the ventilation is wrong and the electronics beneath it cook slowly for years. Both are cheap to get right during the fit and expensive to correct afterward, because correcting them means lifting a bonded appliance out of a finished countertop.
The cutout is a specification, not an approximation
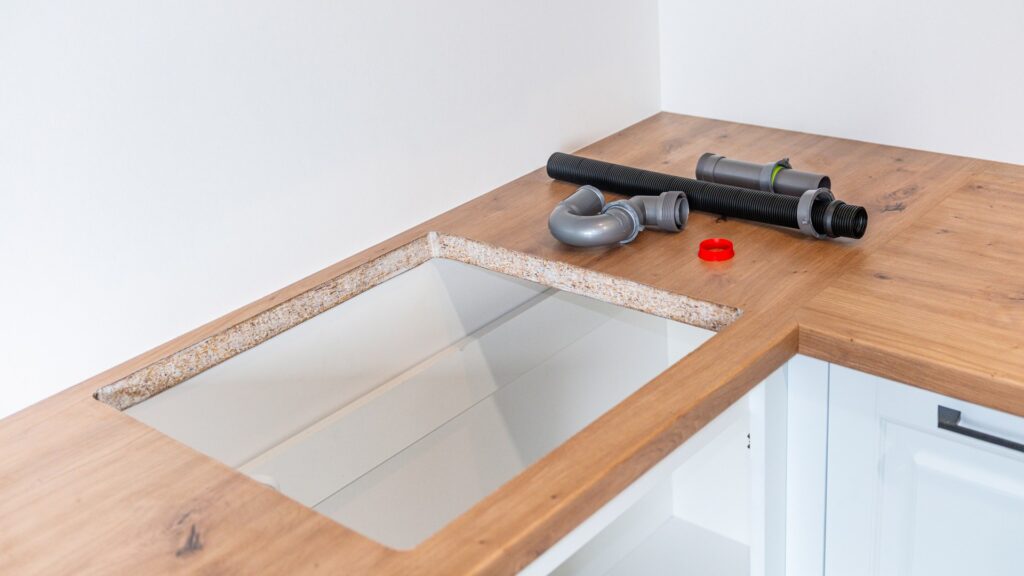
Each model has its own cutout dimensions, and they differ between widths that look identical in a showroom. The template in the box is the only authority. Two rules cause most of the damage we see:
- Do not reuse the previous appliance’s opening. Even a sixteenth of an inch undersized and the glass sits on the countertop edge instead of on its own supports; oversized and the clamps have nothing to grip.
- Radius every inside corner. A square corner concentrates stress in stone and laminate alike, and a countertop that cracks there cracks under the appliance, where it cannot be repaired invisibly.
In stone, seal the cut edge before the cooktop goes in. In laminate and wood, seal it too — moisture entering a raw chipboard edge swells it, and a swollen edge lifts the appliance out of flat. A cooktop that is not flat is a cooktop whose glass is under a twisting load every time a heavy pan lands on it.
Ventilation: the requirement people skip
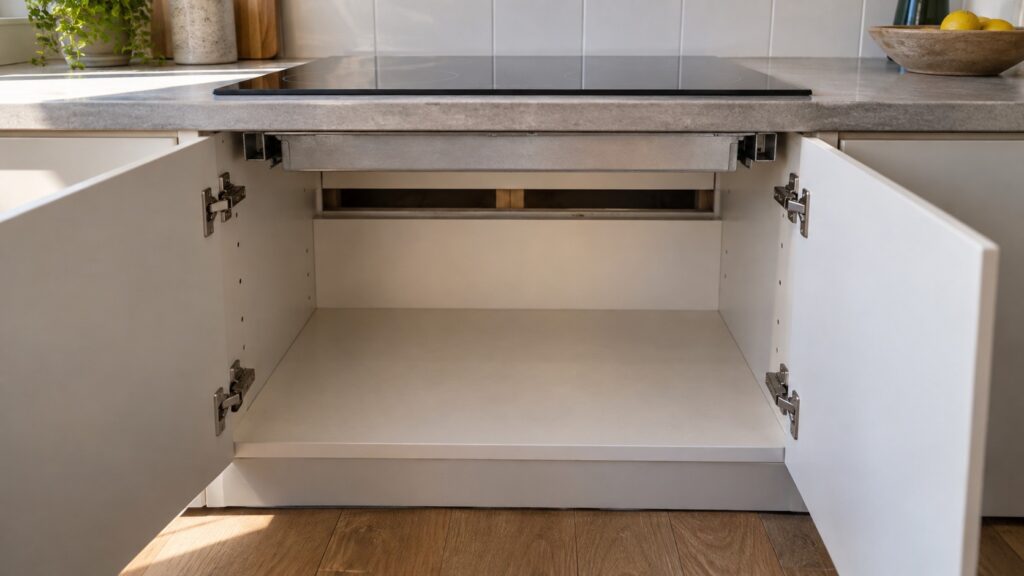
Induction electronics sit in a shallow cavity under the glass and are cooled by a fan pulling air through the cabinet. That fan needs somewhere to draw from and somewhere to push to. If the cabinet is sealed — a solid back, a tight top, a drawer that fills the volume — the fan recirculates hot air and the control eventually protects itself by shutting zones down.
What a correct installation provides:
- a clear gap at the front or rear of the cabinet for intake air;
- an unobstructed path from that gap to the underside of the appliance;
- no stored items pressed against the underside of the cooktop;
- when an oven sits below, the separation distance that oven’s instructions specify, so its exhaust is not the cooktop’s intake.
The symptom of getting this wrong is not immediate failure. It is a cooktop that works perfectly for a year and then begins shutting down under load — which reads as a fault and is in fact an installation problem. Our guide on ventilation and overheating covers the behavior in service.
What goes directly below
A drawer. Allowed on most models with a horizontal separator fitted between the cooktop and the drawer contents. Without it, anything tall in the drawer can touch the underside, and metal utensils in contact with an induction cooktop’s base are a genuine hazard.
An oven. Common and fine, but only at the specified separation. Two appliances that each vent correctly can still fail together if one vents into the other.
A dishwasher. Check both sets of instructions. The dishwasher’s steam vent position matters here as much as the cooktop’s intake.
Nothing at all. An open cabinet is the easiest case, provided the cooktop is still supported on its full perimeter.
Power, and why this is an electrician’s job
An induction cooktop draws far more than a countertop appliance and is hard wired to a dedicated circuit with its own protection, sized to the appliance rating. It is not a plug-in device and it does not share a circuit with an oven unless both manufacturers’ documents say a shared supply is permitted at a stated rating.
This is licensed work in every jurisdiction we operate in. It also has a diagnostic consequence worth knowing: a cooktop on an undersized or shared circuit produces intermittent faults that look exactly like a failing appliance — zones dropping power, resets under load, breakers tripping only when several zones run. If the appliance is new and behaving that way, the supply is the first thing to verify, not the last.
Support, and what holds the weight
A cooktop is carried by its own flange resting on the countertop, not by the cabinet below and not by the clamps. The clamps only stop it lifting. That means the countertop has to be continuous and level for the full perimeter of the opening, including across the front rail where a lot of kitchens have a joint.
Two situations need attention before the appliance goes in. A thin countertop may need a subframe so the flange is bearing on material rather than on air. And where a cooktop is fitted above a fitted appliance, the appliance below must not be used as packing — it moves when it is serviced, and the cooktop then sits on nothing.
While the opening is accessible, also check how the cooktop will be removed later. Leaving the fixings reachable from inside the cabinet turns a future repair into a twenty-minute job. Our guides on fitting European appliances in US kitchens and on hood duct installation cover the neighboring decisions that are usually made at the same moment.
Sealing, and the mistake that traps water
Modern cooktops arrive with their own gasket or a supplied seal strip. Use it, and do not add a bead of silicone around the outside on top of it. Silicone applied over the top looks neat on day one and turns a removable appliance into a bonded one: the next service visit starts with cutting the countertop surface free, and the finish rarely survives it.
Check the seal sits continuously all the way around. A gap at one corner lets a boil-over run under the glass and into the electronics cavity, and that is the single most expensive thing that can happen to an induction cooktop.
When to call
Call when a newly installed cooktop shuts down under load, when zones lose power intermittently, when the glass rocks or the appliance does not sit flat, when a boil-over has run under the edge, or when you need the existing installation assessed before a countertop is replaced.
We are an independent repair company and not a factory service arm. Pricing starts from a diagnostic visit and we confirm the estimate before any work begins. Asko cooktop repair covers controls, inverters, sensors and wiring, and you can schedule a visit online.