An Asko integrated freezer installation is built around five things: the cabinet cutout, the ventilation path, a level and secure fit, the way the door and the cabinet front are arranged, and a power supply that suits the unit. The exact dimensions, clearances and fixing points are in the installation manual for your model, and a guide like this cannot replace them. What it can do is show you what to plan before the unit arrives and what to leave to professionals.
What should you confirm before the freezer arrives?
Start with the manual. Get the installation instructions for your exact model, which you can find with the model number on the rating plate or the packing, and read the section on the cabinet cutout. Measure the opening in several places, because cabinetry is not always square, and compare each measurement with the manual. Check the route the unit will take to the kitchen: doorways, corners and stairs are all easier to plan for than to discover on the day.
It also helps to know where the unit comes from. A freezer in a US home usually came through earlier distribution or an import, and European dimensions can differ from standard US cabinetry. Our guide on the Asko refrigerator in a US kitchen explains what that means for cutout sizing and parts, and the principles apply to a freezer too.
Why does ventilation matter for a built-in freezer?
A freezer removes heat from its contents and releases it into the room. A freestanding unit does this into open air around it. An integrated unit is surrounded by cabinetry, so the ventilation path built into the installation has to do the job that open space would do. If the path is blocked, the compressor works in a pocket of its own warm air, runs for longer and may overheat. Our guide on refrigerator plinth ventilation explains the same principle for refrigerators, and it applies equally here.
Never block a ventilation opening with a decorative panel, a storage basket or insulation material, and confirm with the manual where the air enters and leaves. The right gaps are model-specific numbers, so take them from the manual and do not estimate.
Keep a copy of the installation manual with the unit afterwards. If you ever sell the home, or need a technician, the model details and the clearances in that booklet are the first things anyone will ask for.
How is the freezer leveled and secured?
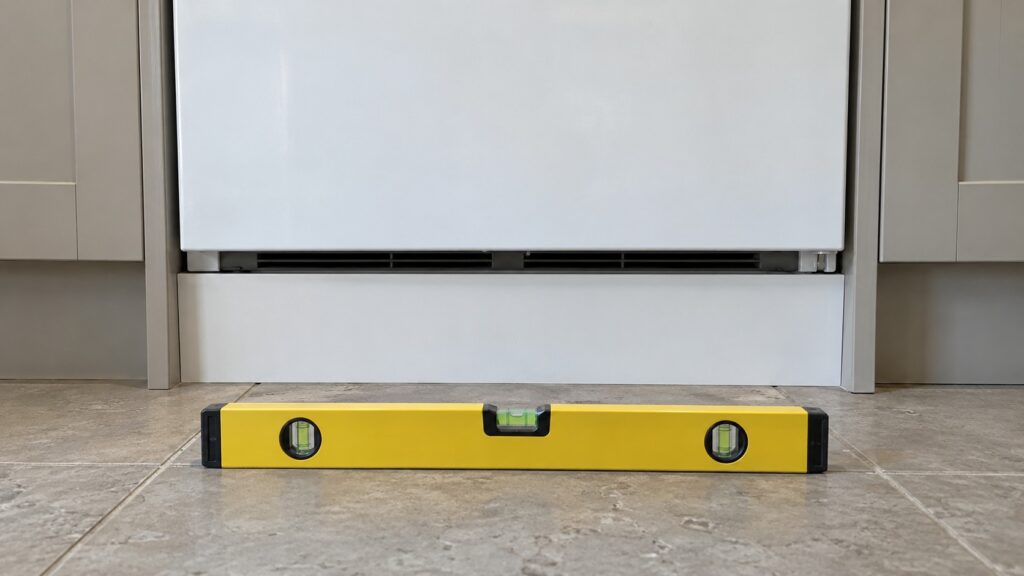
An integrated freezer is usually leveled with adjustable feet and secured to the cabinetry with the fixings in the kit. A unit that is not level may not close its door properly, and a door that does not seal causes frost and extra running. Use a spirit level on the front-to-back and side-to-side directions, adjust one foot at a time and recheck. Our guide on releveling an integrated refrigerator shows how leveling affects the door, and the same logic applies to a freezer.
Check that the unit is secured as the manual describes, so the door can be opened with force when it is iced or full without pulling the freezer forward. Do not use random screws; use the kit or the fixings the manual lists.
How are the door and the cabinet front arranged?
Integrated units usually carry a furniture door that is fixed to the freezer’s own door by hinges or brackets, so the unit looks like part of the cabinetry. Details such as the weight limits for the front and the alignment method are model-specific, and a front that is too heavy or misaligned can strain the hinges and spoil the seal. Follow the manual’s limits and adjust the alignment before you fix anything permanently. Our integrated versus freestanding guide explains why the arrangement differs, which is a good background to the manual.
Open and close the door several times after fitting, check that it closes by itself from a slightly open position as the manual describes for your model, and look at the gasket all around the door for gaps.
Check, too, that nothing in the cabinetry catches the door when it swings open, such as a handle on a neighboring unit or a drawer that opens into its path. Door clearance is easy to test before the fixings are final and awkward to fix afterwards.
What about power, and what is a job for a professional?
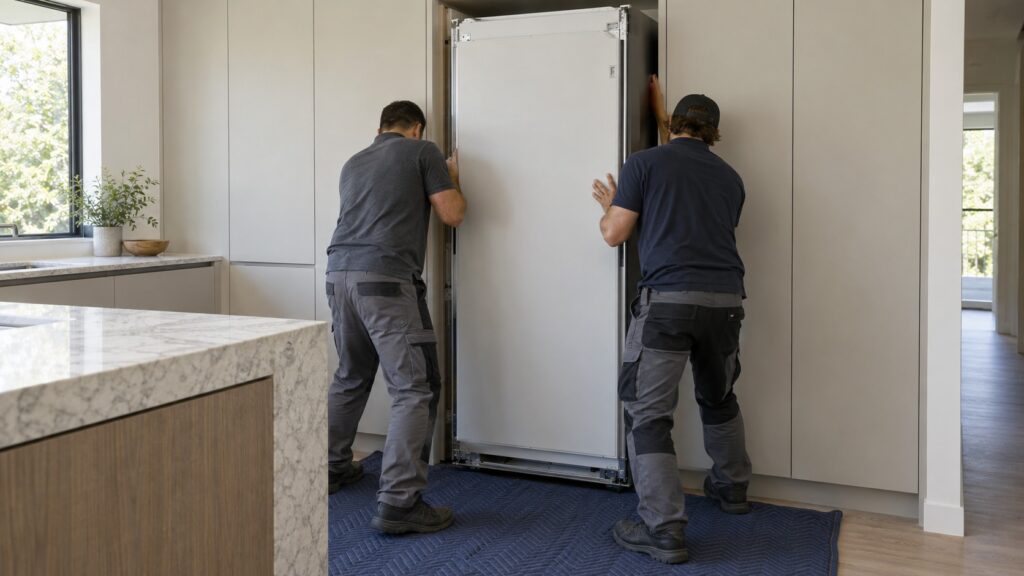
A freezer needs a reliable power supply that suits the unit, and the manual says what that is. If you need a new outlet, a different circuit or any change to the wiring, hire a licensed electrician. Do not use an extension cord or a multi-way adapter. Moving a tall, heavy unit is a two-person job, and a freezer must stand upright for the period the manual recommends before it is switched on; follow the manual, not a guess.
After installation, let the freezer reach its normal temperature before you load it, and check that it runs normally. If you find water near the unit’s electrics or smell burning, switch off the breaker at the panel while standing on a dry floor and do not touch the unit. Our Asko freezer repair page explains how a visit works.